DIY
Building your own fence with ready-made cedar panels: a weekend checklist
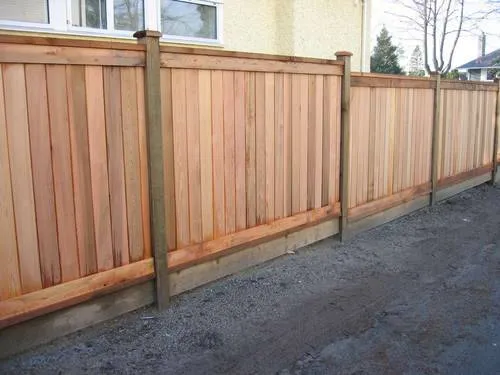
Ready-made panels make a DIY fence much faster. Here is the planning and the order of work that keeps the line straight and the panels level.
Abbey Cedar Products 1 min read
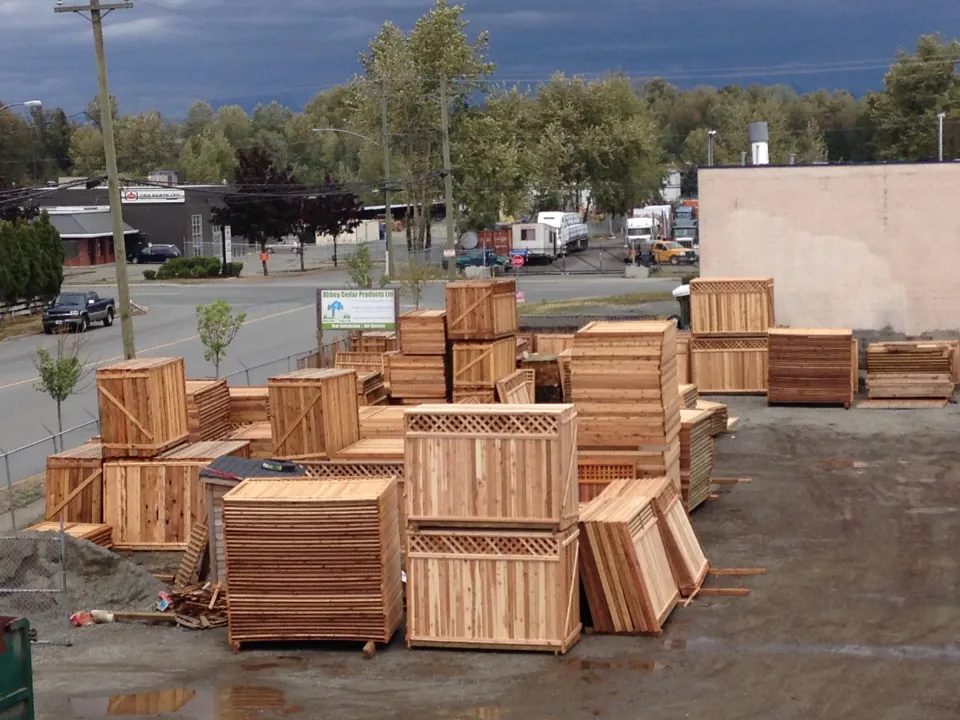
Buying ready-made cedar panels takes most of the cutting and nailing out of a fence project. The part that decides whether it looks good is the layout and the posts.
Before you start
- Request a utility locate. Use BC 1 Call before you dig so buried lines are marked.
- Confirm the property line and talk to your neighbour if the fence is shared.
- Check your city's fence rules for height and placement. See our permit checklist.
Plan the layout
- Run a string line along the fence line between two stakes.
- Mark post positions to match your panel width. Measure from post centre to post centre so panels fit.
- Plan gates first, then fill the runs between them with full panels where you can.
- On a slope, decide whether panels will step down or follow the ground.
Set the posts
- Dig holes deep enough for your fence height and soil. A common rule of thumb is to bury roughly a third of the post, but taller fences and soft ground need more.
- Set the end and corner posts first, check them for plumb in two directions, then set the line posts to the string.
- Let concrete cure before hanging panels.
Hang the panels
- Keep the bottom of each panel a little above the ground so it is not sitting in the wet.
- Check level on every panel before fastening.
- Use exterior-rated screws or fasteners.
Gates
Gates take the most wear. Use strong posts on both sides, a braced gate, and good hinges. If you would rather have the gate built and hung for you, ask us.
Getting materials
We sell the same cedar panels, posts and fence materials that our crews install, and custom sizes can be built to order. Call ahead and we will confirm stock, or send us your list.